Wargaming the Historical Battles (2018)
In amongst all the heritage events and campaigns, normal service has been maintained and, locally, we have continued to explore the Civil War and the challenges of reconstructing the battles in miniature.
The figures are Trebian’s.
St. Fagans
St Fagans (1648) was a peculiar affair in which a small Parliamentarian force terrorised a much larger rebellious ‘army’ near Cardiff. Our game was a follow up to CoW, where Mike E had put on a session using his own mechanisms.
The game requires a significant strength/morale loading in favour of the New Model troops – but in this case seemed something of a forgone conclusion. Mike has taken on board some of our feedback so there may be more to on the battle and Mike’s thinking to come.
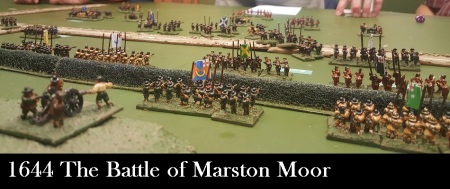
Marston Moor
… (or: Trebian gets all his toys out) …
In which we returned to squares and to Richard Brook’s Victory Without Quarter.
Now I have refought Marston Moor on a number of occasions … notably with the old Pike & Shot Society display team and their colossal game (part of which fed recruits into my own Naseby model) … Marston Moor was a big affair and involves quite a lot of manoeuvre, deploying off the march and grand cavalry sweeps.
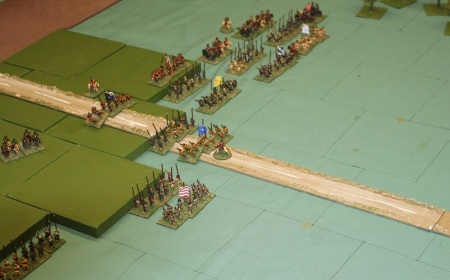
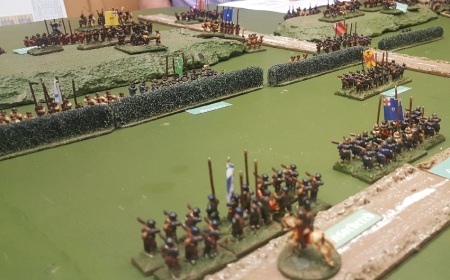
 (Marston Moor … 15mm figures from the splendid Peter Pig range)
Which is everything that you want from wargaming a great battle – but is also a test of game rules and game management. In this game we used quite a bit of the original game’s card management and it did make the game feel like a trudge rather than a sweep.
I think Marston Moor is one of those iconic battles -one you want to be able to refight on the wargame table with entertainment, authenticity and flexibility in equal measure.
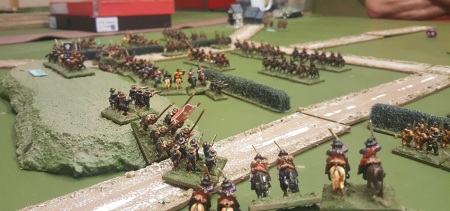
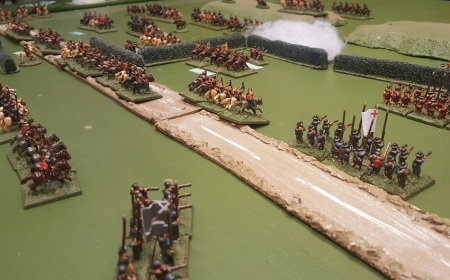
CROPREDY BRIDGE
Cropredy is an awkward affair to reconstruct … essentially a grand (and rather unmanageable) ambush … an operational level battle with troops on the move … potential issues of surprise, visibility, nightfall, command distances etc.
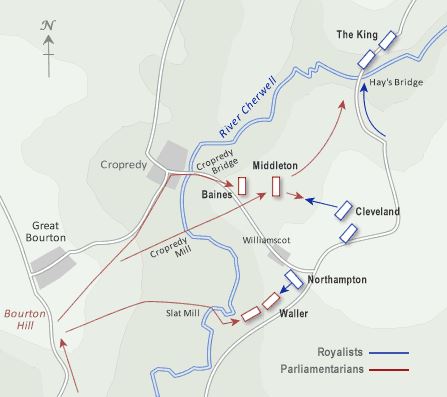
Waller’s army was shadowing the King’s column from the other side of the Cherwell valley and opted to attack the marching force in the fields between Cropredy and Wardington after part of it had already crossed the Cherwell at Hay’s Bridge.
To do this he had to get his men across the river in a hurry, at Cropredy and Slat Mill, seal off the exit at Hay’s Mill – the eliminate the inferior force he had just trapped in the bend of the Cherwell.
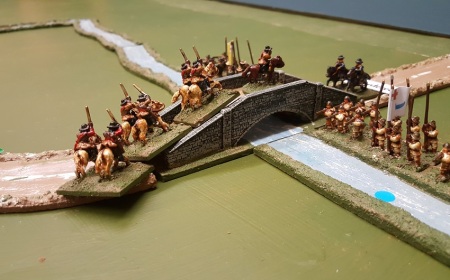
(Cropredy: some fleeing Royalist cavalry escape to safety across Hay’s Bridge)
We were still using squares, which created quite a few anomalies during the game … and unit-by-unit activation (which allowed multiple attacks on individual units in a way that really does need to be tidied-up) …
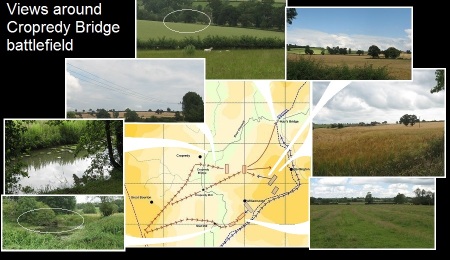
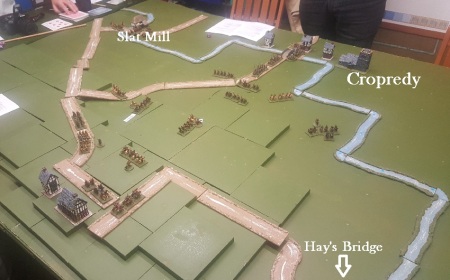
(Cropredy Bridge: some views of the battlefield today)
In this game the initial attacks from the Parliamentarians went very well … Royalist leaders falling off their horses and being taken prisoner … but as the game progressed the management difficulties mounted and the historic withdrawal became inevitable … and probably more awkward in the game than in 1644!

September 19, 2018 at 9:40 am
A very fair summary of the difficulties we faced with some of the games. Which is to say you have been way too kind. Still, the pictures look great.
September 15, 2018 at 4:13 am
Good looking table and troops! I have yet to refight a Marston Moor. Some day!